


Showing posts with label Kitchen. Show all posts

Sunday, June 5, 2011

Beadboard Backsplash...

  I wanted to share with you guys my lovely new beadboard backsplash. I love it! Let's just start from the beginning. So, I have wanted a beadboard backsplash for months, but with him being gone for a few months for the military & our busy lives, we finally got around to it on Memorial day weekend. So, thinking it would only take a few hours to put up the beadboard, I was sure it would not consume our whole holiday weekend. I mean how hard could it be? I was wrong. I should have known it was going to be a tedious project when we went to our local Lowe's to pick up the beadboard & their saw was broken. We drove 45 minutes to the next nearest Lowe's & purchased our beadboard & trim. So without boring you, let me just say that the project ended up taking 2 days, & about 7 additional trips to Lowe's. It wasn't a difficult project per say, but we did run into a few issues that made it take longer then expected. Thankfully my husband and I had a lot of fun working on this together even though there were some bumps along the way. If you are thinking about doing this project ready below for some additional tips & tricks... Lets admire some Before & After photos now....


Before:


The walls were flat paint ( Wood Smoke Grey)

After:


To find out how much beadboard we needed we simply measured the length, width, & height of each individual section in the kitchen. We did the same for the shoe molding & dowel rods as well. 


The lighting was not idea for the pictures.. but you get the idea. I love how the beadboard brightened up the whole kitchen!


To apply the beadboard to the wall we chose to use a staple gun so that there would be minimal damage to the wall. We used caulk to adhere the shoe molding and dowel rods on all the seams and edges.


I still have not fully accessorized my kitchen.. but it's coming along & to see our complete kitchen to-do list see the bottom of this blog post!


I think the white really goes well with the busy granite. A busy tile backsplash would have been too much conflicting patterns for me. I like the clean serenity of the beadboard.


Before:


After:


Things to have:

-beadboard 
-shoe molding & dowels {craft store}
-Tape measure
-staple gun 
-caulk
-kitchen paint {if you choose to paint the beadboard}
-skill saw
-dremel
- & a handy dandy husband. 


This is the part of the project that took forever. Making templates to fit around the window & other parts of the kitchen that were not strait cuts. Just remember these do not have to be perfect because you can fill in the spaces with caulk....


The caulk was used to smooth out all the edges including around all the trim pieces. As you can see at the bottom where the beadboard meets the granite we used shoe molding and dowel rods to create trim along the entire counter top. We also did the same thing around the top where the beadboard meets the cabinets.


The cut outs for the outlets do not have to be perfect because they will be covered by the outlet faceplate anyways. 


After the beadboard was all in place & before we put the outlet covers back on I painted a few coats of pure white kitchen & bathroom paint to really give the beadboard a pop of fresh white color. 


Kitchen To Do List:

- New Lighting fixtures {pendants,ceiling lights,exd}
-Roman Shades for Window
-beadboard under the bar area {not shown in the photos}
-New Sink {I'm thinking black..?}
-New Faucet{touch on, touch off, of course}
-New Door for pantry {like a vintage door. with window}
-Add Crown molding on the top of the cabinets
-& accessorizing of course.


Sorry for the picture overload. I hope this post helped some of you who are thinking of doing a beadboard backsplash as well! I'm glad that I had my wonderful husband to help me with all this because if it wasn't for him I would still be working on it & not writing this blog post. I am truly blessed that my husband loves all my crazy random ideas. Have any of you ever done a beadboard backsplash? Do you love it as much as I do? Well here is our next Facebook link up... You can go link up your backsplash {does not have to be beadboard.. we like variety!}  on Liz Marie Blog Facebook & I will pick some to put on the blog next week!!  I hope you are having an awesome weekend, mine has been nothing but relaxing, & I LOVE it! Here is a picture of my husband & I yesterday at a wedding here in North Carolina, it was a beautiful night for a wedding...

RachLeaPhoto.Com


Thanks for stopping by... xx Liz

Saturday, March 12, 2011

Window Shutter...

 ... So the window shutter is complete, for now. I don't know if you have noticed at all, but I am constantly making changes when it comes to home decor. I am never satisfied. It's sad, when I get done with something I love it & the next day I am thinking of new ideas for the project. Anyways I made these fun little twine wreaths yesterday to add to my Window Shutter {as seen in my previous post} So this is the window shutter as of now....


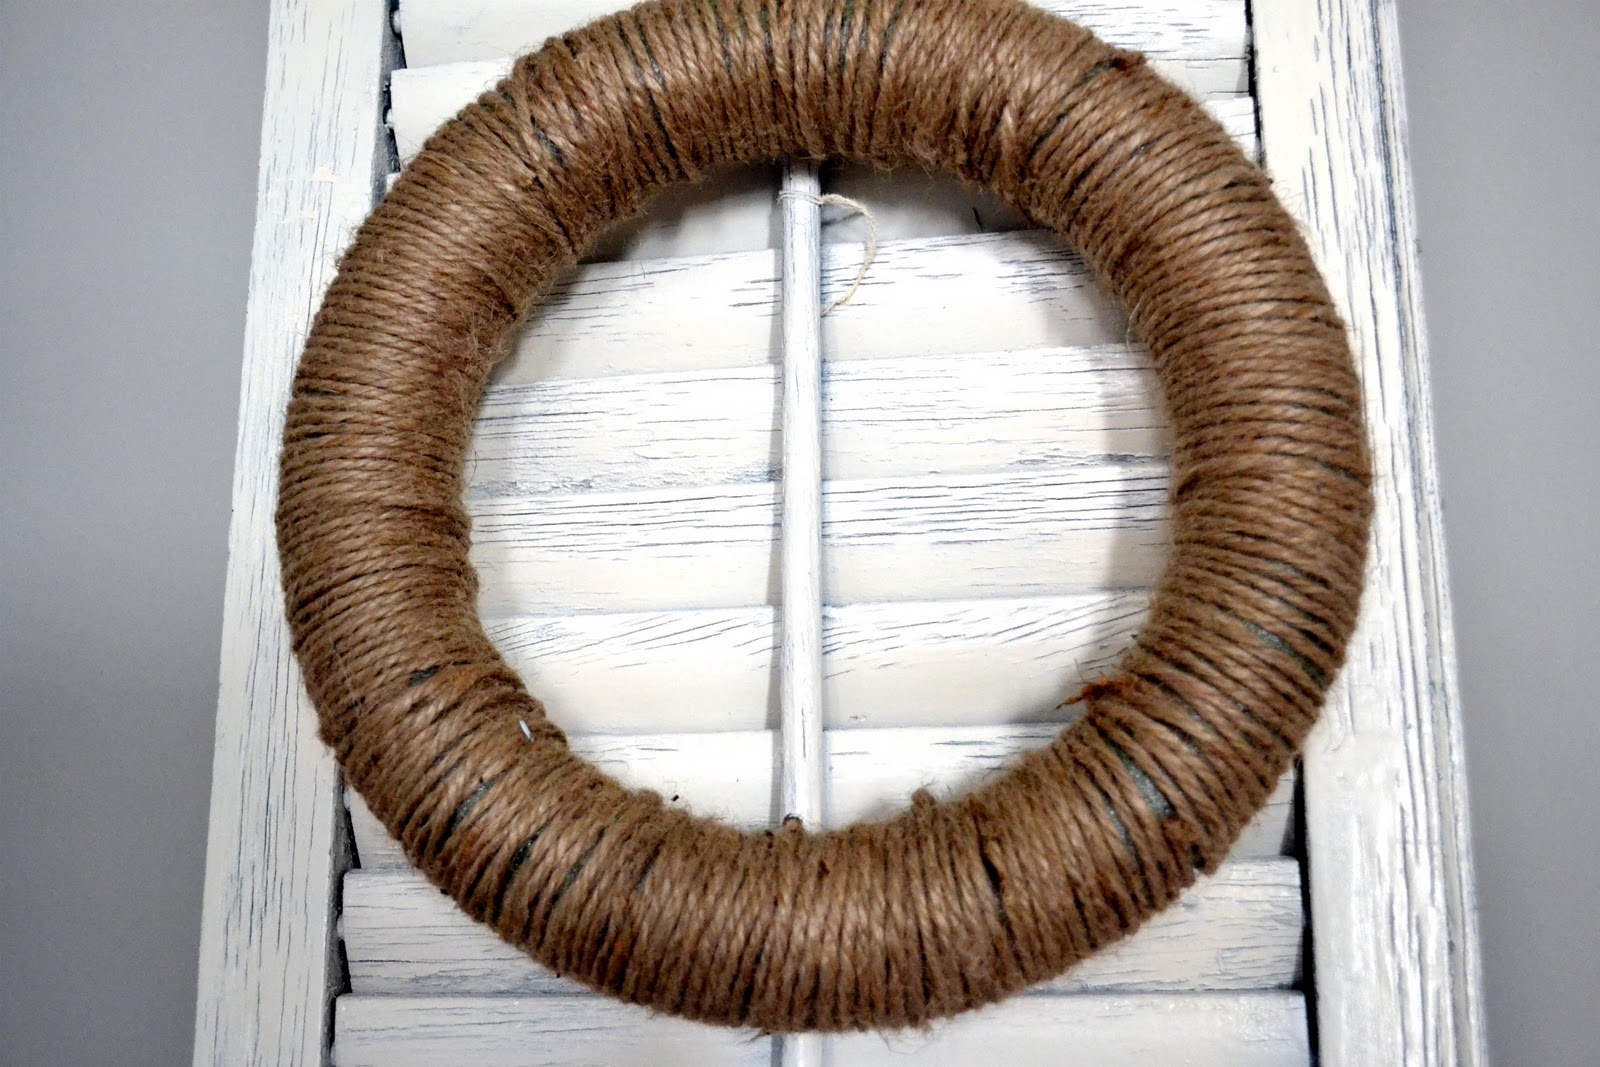
The wreaths were very simple to make. Just a little twine & a few Styrofoam circle wreaths from Michael's & I was all set. I thought about adding something to the wreaths, but I decided to keep them as simple as possible to show off the shutter & all it's distressed glory.

{{Window Shutter Before...}}


I really did like the original color of the window shutter, but I wanted to personalize it myself, so I made it a creamy white, no distressing needed because of the already distressed condition of the wood.


I added this knob to the shudder, doesn't it look like it was meant for it? It was the first knob I used from the huge collection I scored while I was in Michigan {Check out the collection I got for only 20 dollars HERE}


The wreaths are attached with some simple black string. I am debating whether or not to add some ribbon just for embellishment. For now it remains to  look like it's "floating" with out ribbon.


See at the top where the shutter was damaged? Since this shutter is an antique & is very old, the condition was not so good. I am in the process of fixing the top piece.


Do you think I should add some ribbon to the wreaths to attatch them to the shutter? What are your thoughts?  I hope you are all having an amazing weekend. My weekend has been very relaxing so far. Spent the day downtown with the puppies and my husband, it's so beautiful here in NC! What kind of DIY projects are you working on right now?? Go share your DIY projects & blog posts on Liz Marie Blog facebook page!! I would love to see them!

xx


Wednesday, March 9, 2011

In the middle...

   So I am in the middle of a project that involves this {Pretty} awesome window shutter, but I felt the need to post a little update. For a long time now I have been looking for the Perfect window shutter for this odd wall in our kitchen. While home in Michigan I found this large green shutter & knew it was the {Perfect} one. Not so much the color, but the size. So after changing the color & fixing it up a little here is what it looks like so far...


See this wall? It's pretty much a focal point & I wanted to make some "shutter art" Does that exist? Now it does. I am in the middle of adding more details & I am liking the progress so far!

{Before}


I got this little gem at an antique store for less then {Twenty Dollars} which was totally worth it because of how long I waited to find one this size.


There is my "Shutter Art" update.. I do not have the much more to add, but I am excited for it to be finished so I can show you all!! I hope your week is going good. It's Wednesday night, two more days until the weekend!! My news of the week is I Shattered broke my iPhone 3G last night, so today I finally upgraded to the new {iPhone 4} so far I love it!! That is all & I will update you on the shutter progress soon. If you have an {DIY} projects you want to share, go to Liz Marie Blog Facebook and post a link!!

xx


Friday, January 21, 2011

A Pretty Little Windowsill...

    First of all I want to say that I may or may not need to attend a ten step program for my addiction to antique stores & mason jars. But that's beside the point, I found some amazing deals this week!! I wanted to share a couple of my great finds with you...


These great Mason Jars that are now making my kitchen windowsill a little prettier...


My window in my kitchen still is bare, but I feel like these mason jars add a little charm. I got these mason jars for a steal & they are the ones with the glass lids and metal clamps. Too cute.


I know, I know... fake flowers, I'm sure I will be changing them often out with real flowers, but for now these will do.


O, hey there I am.. smile & wave! My poor windows need some curtains.. add that to the list of projects please..


Okay.. enough of the mason jars, obsessed much?

The next little thing I got is something I stare at every time I go into this little antique store by my house, I just never felt the need for it. Well after a few OCD breakdowns from magazines and books laying around, I finally felt the need....


I love & if you remember my HUTCH & ENTRY TABLE you know that this goes very well with them. It's cute & simple & cures my ocd of magazines laying around.


It's too cute. I feel like I say that a lot, but it really is.. there is no better word for it.


My current book: Water for Elephants.. Have any of you read this book? I am really loving it so far.. I just wish I had more time to actually sit and read a book.. ahh wouldn't that be nice?

Hope you loved seeing a couple of my antique finds from this week.. I had a few other buys, but they are currently under construction & will be blogged about on a later date. Remember to head on over to Liz Marie Blog's Facebook page & become a fan. I hope you all have a fabulous weekend. I know mine will be pretty fun, it's my hubby's 24th birthday tomorrow & I really spoiled him this year.. yet another blog post to come.. Thanks for stopping by!!

Love Always,